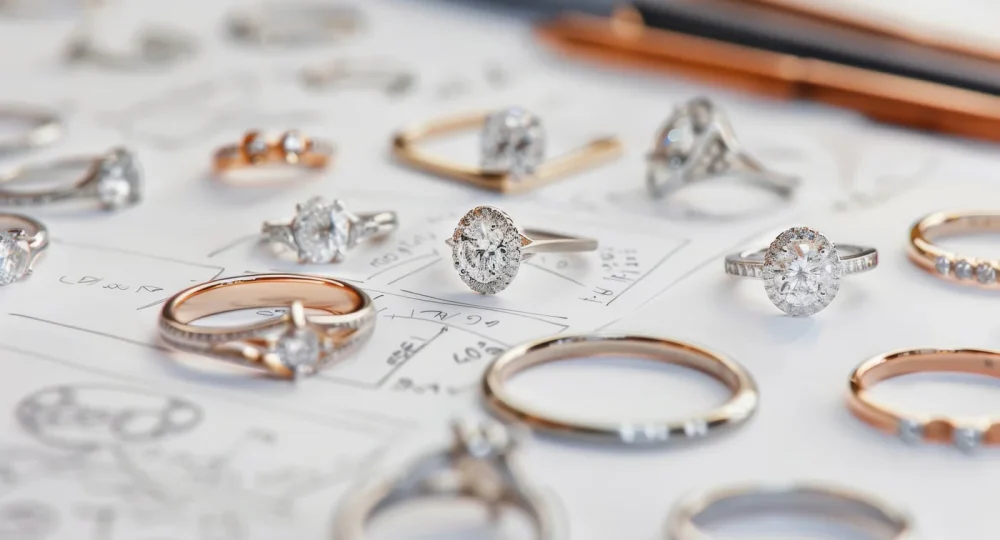
From Sketch to Stone: The Process of Custom Jewelry Design
The allure of custom jewelry lies in its ability to tell a story that mass-produced pieces simply cannot replicate. While a standard engagement ring or necklace from a luxury retailer offers convenience and brand recognition, custom design offers a collaborative journey between the artisan and the wearer. This process transforms a vague concept into a tangible heirloom, ensuring that every curve of metal and every facet of a gemstone reflects the specific personality and intent of the owner. Understanding the intricate steps from the initial sketch to the final polished stone reveals the craftsmanship and technical precision required to create these wearable works of art.
The Conceptualization Phase: Defining the Vision
Every custom piece begins with a conversation. This initial consultation is arguably the most critical stage of the entire process, as it sets the foundation for the aesthetic and structural integrity of the jewelry. During this phase, the designer works to extract the client’s preferences, often navigating through a mix of inspiration photos, heirloom pieces, and abstract ideas.
Key considerations during conceptualization include:
-
The Occasion: Is the piece intended for daily wear, such as an engagement ring, or is it a statement piece for special events?
-
Metal Preference: Choosing between 14k or 18k gold (yellow, white, or rose), platinum, or alternative metals like palladium.
-
Gemstone Selection: Determining the type, cut, color, and clarity of the stones. This often involves sourcing specific diamonds or colored gemstones that meet the client’s budget and visual requirements.
-
Lifestyle Factors: A design for a professional athlete or a gardener requires more durable settings than a piece intended for a corporate executive.
Once the parameters are established, the designer produces hand-drawn sketches. These initial renderings provide a two-dimensional look at the proportions and silhouette of the piece. This is the stage where “fluff” is eliminated and the core design language is established.
Advanced Design: From Hand Sketches to CAD
In the modern era of jewelry manufacturing, the transition from a hand sketch to a Three-Dimensional (3D) model is where precision meets artistry. Computer-Aided Design (CAD) software allows the jeweler to create a digital prototype that is accurate to the fraction of a millimeter.
The CAD phase serves several vital functions:
-
Visual Confirmation: The client can view a 3D rendering of the piece from every angle, providing a much clearer expectation than a flat drawing.
-
Structural Integrity: The software can calculate the weight of the metal and the exact spacing needed for gemstone pavé, ensuring the piece is not only beautiful but also durable.
-
Proportional Accuracy: CAD allows for perfect symmetry and precise measurements, which is essential for complex geometric designs or vintage-inspired filigree.
After the CAD model is approved, the digital file is sent to a 3D printer or a CNC milling machine. This technology creates a physical wax model of the jewelry. This wax is a 1:1 scale representation, allowing the client to see the physical volume of the piece before any precious metal is cast.
The Casting Process: Transforming Wax to Metal
The transformation of a wax model into a gold or platinum mounting is achieved through a technique known as “lost-wax casting.” This ancient method, updated with modern materials, remains the industry standard for creating high-quality jewelry.
The process involves several meticulous steps:
-
Investing: The wax model is attached to a wax “tree” and placed inside a metal flask. A plaster-like substance called investment is poured around it.
-
Burnout: The flask is placed in a high-temperature kiln. The wax melts and evaporates (hence “lost-wax”), leaving a hollow cavity in the shape of the jewelry.
-
Centrifugal or Vacuum Casting: Molten metal is forced into the cavity using centrifugal force or vacuum pressure to ensure the metal fills even the smallest details of the mold.
-
Quenching: Once the metal solidifies, the flask is plunged into water, which breaks away the investment material and reveals the raw metal casting.
At this stage, the piece looks nothing like the finished product. It is dull, often darkened by oxidation, and has a rough texture that requires extensive refinement.
Refining and Pre-Polishing
The raw casting must undergo “cleanup.” This involves removing the casting sprue (the path where the metal entered the mold) and filing down any imperfections. A master jeweler uses specialized files, buffs, and sandpaper to smooth the metal surfaces.
During this stage, the jeweler also ensures that all functional components work correctly. If the piece is a locket, the hinge must be perfectly aligned. If it is a ring with multiple components, such as a two-tone gold design, the separate pieces are laser-welded or soldered together. This is the “bridge” phase where the mechanical aspects of the design are perfected before the delicate work of stone setting begins.
The Art of Stone Setting
Setting gemstones is perhaps the most nerve-wracking and precision-oriented part of custom jewelry design. The setter must secure the stones firmly while minimizing the visibility of the metal, allowing maximum light to enter the gems.
Common setting techniques include:
-
Prong Setting: Using small metal claws to hold the stone, popular for solitaire rings.
-
Bezel Setting: Surrounding the gemstone with a thin rim of metal for a sleek, modern look and superior protection.
-
Channel Setting: Placing stones side-by-side between two parallel walls of metal.
-
Pavé Setting: Using tiny beads of metal to secure a field of small diamonds, creating a “paved” appearance of brilliance.
Each stone must be leveled and aligned perfectly. A single misplaced prong can ruin the symmetry of the entire piece. For high-end custom work, this is often done under a microscope to ensure the highest level of detail.
Final Polishing and Quality Control
The final step is the high-polish finish. Using a series of rotating brushes and polishing compounds (such as Tripoli and Rouge), the jeweler brings out the natural luster of the precious metal. For white gold pieces, a final plating of rhodium is often applied. Rhodium is a member of the platinum family that provides an ultra-white, reflective surface and extra scratch resistance.
Before the piece is handed over to the client, it undergoes a rigorous quality control inspection. The jeweler checks that:
-
All stones are secure and do not “rattle.”
-
The metal is free of porous spots or casting defects.
-
The sizing is accurate to the client’s specifications.
-
The finish is uniform and meets the aesthetic goals of the original sketch.
{image_generation: A high-resolution professional photograph of a custom jewelry design workspace. On a dark wooden jeweler’s bench, there is a hand-drawn pencil sketch of an intricate Art Deco style diamond ring. Next to the sketch lies a blue jeweler’s wax carving of the same ring, a set of precision calipers, and a small pile of unmounted sparkling clear diamonds. The lighting is warm and focused, highlighting the transition from concept to physical form. 800px width.}
Frequently Asked Questions
How does the weight of the metal affect the final price of a custom piece?
The price of gold and platinum fluctuates daily based on market rates. During the CAD phase, the software calculates the exact volume of metal required. Heavier, thicker bands or intricate solid designs require more grams of metal, which directly increases the material cost.
Can I use stones from an old family heirloom in a new custom design?
Yes, this is a common practice known as “resetting” or “repurposing.” A jeweler will first inspect your stones for chips or cracks to ensure they can withstand the pressure of being unset and then reset into a new mounting.
What is the difference between a “custom” piece and a “customized” piece?
Customized jewelry usually involves taking a pre-existing mounting and making minor changes, like choosing a different center stone. True custom jewelry is built from scratch, starting with an original sketch and a unique CAD model designed specifically for you.
How do I care for a custom piece of jewelry compared to mass-produced items?
The care is generally the same, but because custom pieces often feature unique geometries or delicate settings, it is recommended to have them professionally inspected every six months. This ensures that prongs remain tight and the metal has not suffered excessive wear.
Why does platinum cost more than gold for custom casting?
Platinum is denser than gold, meaning a ring in platinum will feel heavier than the same ring in gold. Additionally, platinum has a much higher melting point and requires specialized tools and expertise to cast and polish, leading to higher labor costs.
Is the CAD rendering an exact color match to the final product?
CAD renderings are digital approximations. While they provide an excellent view of the structure and proportions, the “metal” in a digital image is a computer-generated texture. The actual glow of 18k yellow gold or the mirror-like finish of rhodium-plated white gold has a depth and luster that digital screens cannot perfectly replicate.
How long does the typical custom jewelry process take from start to finish?
On average, the process takes between four to eight weeks. This timeline accounts for the design consultations, CAD revisions, wax printing, casting, stone setting, and final polishing. Complex designs with hard-to-source gemstones may take longer.